Hope you all are staying safe. Tough times out there! So today, we will be discussing about Hypertension commonly known as High Blood Pressure and how big of a role Yoga has in helping fight this deadly condition.
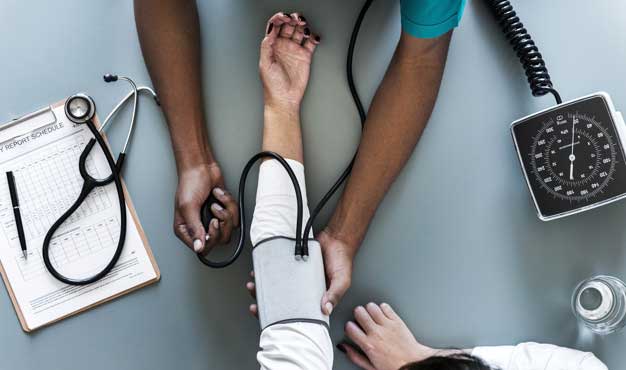
Hypertension, also commonly referred to as ‘High Blood Pressure’ is a condition in which the force of blood against the artery walls is very high which may lead to artery damage. Most people with Hypertension are unaware of it as it is a condition that shows no symptoms, but is a primary risk factor for cardiovascular diseases including stroke, heart attack, heart failure, and aneurysm. And that’s the reason it is also referred to as ‘Silent Killer’. The only way to detect hypertension is to have a health professional measure blood pressure. Having blood pressure measured is quick and painless. Individuals can also measure their own blood pressure using automated devices, however, an evaluation by a health professional is important for the assessment of risk and associated conditions.
- An estimated 1.13 billion people worldwide have hypertension, most (two-thirds) living in low- and middle-income countries.
- Hypertension is a major cause of premature death worldwide.
- Nearly 1 out of 2 adults in the United States have hypertension (108 million).
- A greater percentage of men (47%) have high blood pressure than women (43%).
- The prevalence of hypertension increased with age, from 7.5% among adults aged 18–39 to 33.2% among those aged 40–59, and 63.1% among those aged 60 and over. A similar pattern was found among both men and women.
The major contributors of Hypertension are:
- Lack of physical exercise
- Sedentary lifestyle
- Poor eating habits
- Obesity
- Smoking
- Alcohol consumption
- Family history
How can Yoga help in Hypertension / High Blood Pressure?

Adopting a healthy diet and regular exercise can help you control your blood pressure immensely. Another natural and safe method to control hypertension is practicing yoga along with meditation and pranayama. Yoga is an ancient method to stay fit which can give you a solution to many health problems. Yoga asanas involve breathing consciously and deeply while synchronizing your body movements. They can help control blood pressure naturally, primarily by relieving stress. Yoga leaves a positive impact on your mind and body. It is an effective way to lower blood pressure.
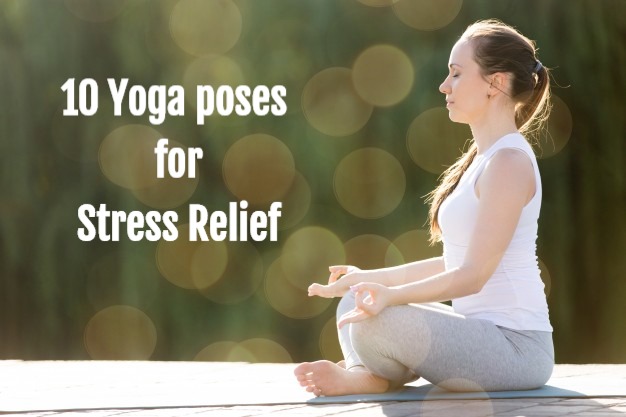
Other than this, there are routines of yoga poses to get yourself relaxed when there is too much of chaos and stress in life for some time because as you know hypertension is a chronic disease while having stress and its effect on the body could be acute in the beginning, so in those situations, I have something helpful for you. Check this out – Yoga poses for Stress relief. and Pranayama for stress relief.
Here are some effective meditation exercises, pranayamas, and yoga asanas for HYPERTENSION.
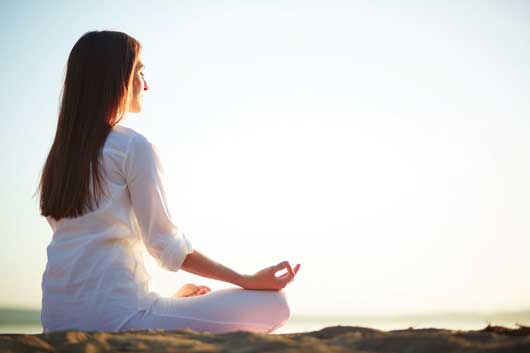
Yoga Meditation for Hypertension / High Blood Pressure
1. Om-Chanting
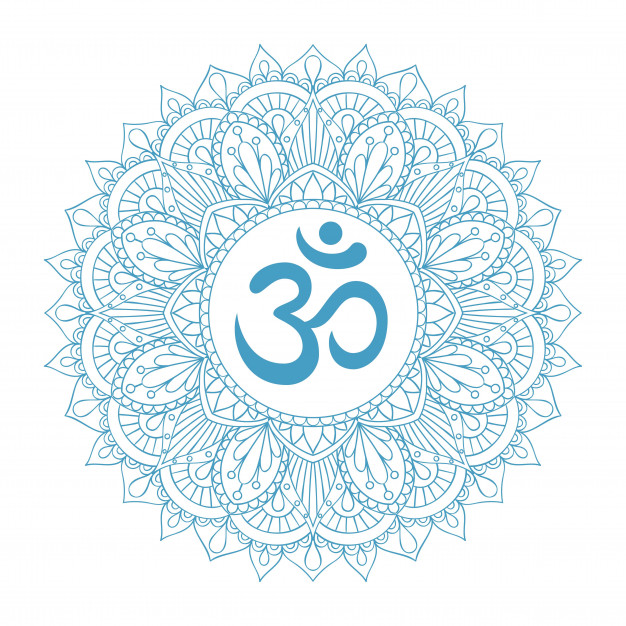
Steps
- While you breathe in and breathe out, chant ‘om’
- Fit the chant to your breath duration rather than breathing to the chant.
- Breakdown the ‘om’ syllable to ‘A-A-U-U-U-M-M-M-M’ followed by silence and back again.
- Try to emphasize ‘O’ and ‘M’ separately.
- Say the first two syllables with your mouth opened widely and the next two by pursing your lips together.
- Place the top pf tongue on the roof of your mouth to pronounce the last two syllables.
- Then go engrossed in the silence that ensues.
2. Movement meditation
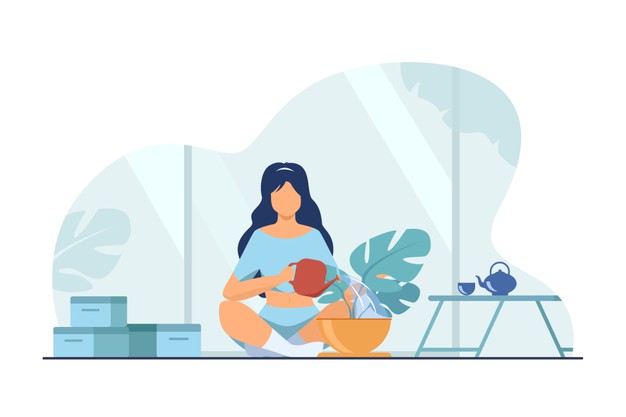
Steps:
- Whenever you feel stressed, try doing some activities that include gentle movements like walking or gardening.
- It is good for those who find peace in letting their mind wander off while doing some activity.
- This helps you to distract yourself from the current stressful situation and leads you to let go of that disturbance.
- In the end, you would feel better with a neutral attitude and take a decision that is not based on your emotions.
3. Scan your body
Steps:
- Place yourself in a relaxing position.
- In this type of meditation, one must focus on the entire body and nothing else.
- So, after settling yourself, close your eyes and breathe deeply.
- First, focus on your toes, move them a little, and focus on the toes.
- Then, observe your ankles, observe them while moving them clockwise and anti-clockwise.
- Keep breathing and gradually move up and feel your calf muscles and knees.
- Then, let your focus shift to the thighs and buttocks.
- After doing so, attend your abdominal area, observe its movement while you are breathing.
- Observe your chest and diaphragm moving while inhaling and exhaling.
- Now, focus on your shoulders and arms till your fingertips.
- Then focus on your neck for a while and then your head.
- You can repeat the same from head to toe again.
- Repeat this process till you feel better.
Pranayama for Hypertension / High Blood Pressure
1. Sheetali Pranayama | Cooling Breathing
Steps:
- To begin with, sit comfortably in Padmasana or any sitting pose.
- Place both your hands on your knees and leave your body loose.
- Now bring your tongue out and fold it in such a way that it becomes like the shape of a tube or a straw.
- If you are unable to fold your tongue like a tube, you can simply roll out your tongue flat.
- Now breathe in slowly through this tube and fill the stomach with air.
- After inhalation, close your mouth and exhale with both nostrils
- Repeat this exercise 4-5 times.
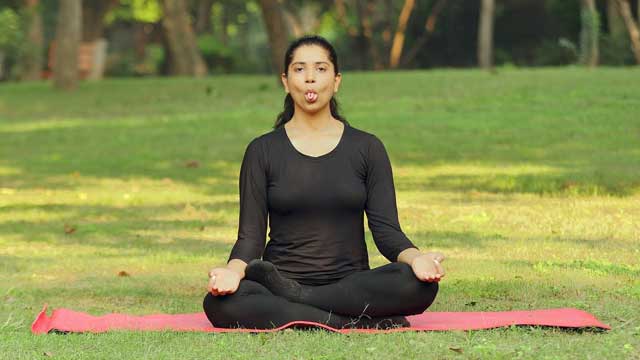
2. Sheetkari Pranayama | Hissing Breath
Steps:
- Firstly sit comfortably with hands and legs folded, and align your back body in one line.
- Now gently open your lips and press your upper and lower teeth together.
- Now breathe in slowly through the gap between your teeth and feel the air filling up in your abdomen.
- Make a hissing sound when you breathe in through your teeth.
- Now close your lips/mouth and exhale through your nose.
- This completes one round of Sheetkari Pranayama. Repeat for a few more rounds.
3. Humming bee | Bhramari pranayama

Step:
- To begin with, sit in a quiet and place with eyes closed.
- Place your index fingers on your ears right at the cartilage.
- Breathe in and while breathing out press the cartilage with your fingers. Keep the cartilage pressed while making a loud humming sound like a bee.
- Breathe in again and out and continue the same pattern around 3-5 times and increase gradually for up to 7-9 times.
4. Alternative nostril breathing | Anulom Vilom
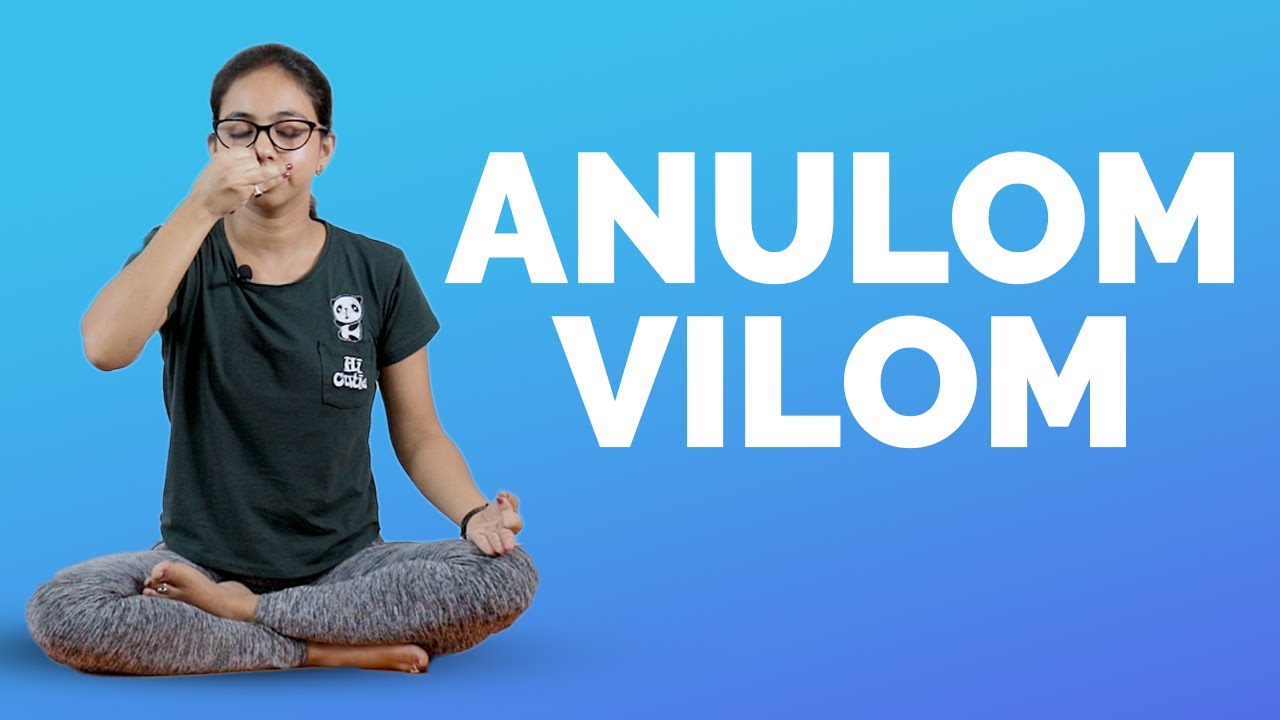
Steps:
- Sit comfortably on your mat and sit straight so that your back, neck, and head are aligned.
- Let your left-hand rest on your left knee.
- There is this particular hand pose that one has to perform with his right hand. There is a reference image. You have to curl up your index and middle finger and let the other fingers be open and not curled up.
- Maintaining the same hand pose, use your thumb to press your right nostril and inhale deeply from your left nostril.
- Hold your breath for 5 seconds and then press you left nostril with your ring finger and lift your thumb from your right nostril and exhale slowly.
- Keep repeating this 15-20 times.
Precautions:
- Avoid practicing it if you are suffering from high blood pressure or any heart disease.
Yoga poses for Hypertension / High Blood Pressure
1. Child’s Pose | Balasana
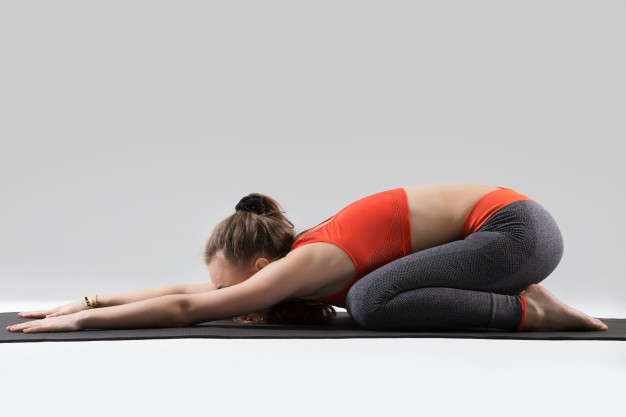
Steps:
- Kneel on your knees and keep your knees at a distance parallel to your hips.
- Bend down and let your palm touch the floor.
- Stretch your hands as much as possible.
- Let your face position itself between your hands and touch the floor.
- Now let your buttocks touch your heels slowly.
- Keep breathing slowly, focusing on your breathing.
- Stay in the same position for 30 seconds for beginners, later you can increase the time up to 2-3 minutes.
Precautions:
- Avoid this pose if you are suffering from diarrhea.
- If you are pregnant, then spread your knees wider and do not apply more pressure on the abdominal area.
- Avoid child pose if you have any knee injuries.
2. Thunderbolt Pose | Diamond pose | Vajrasan
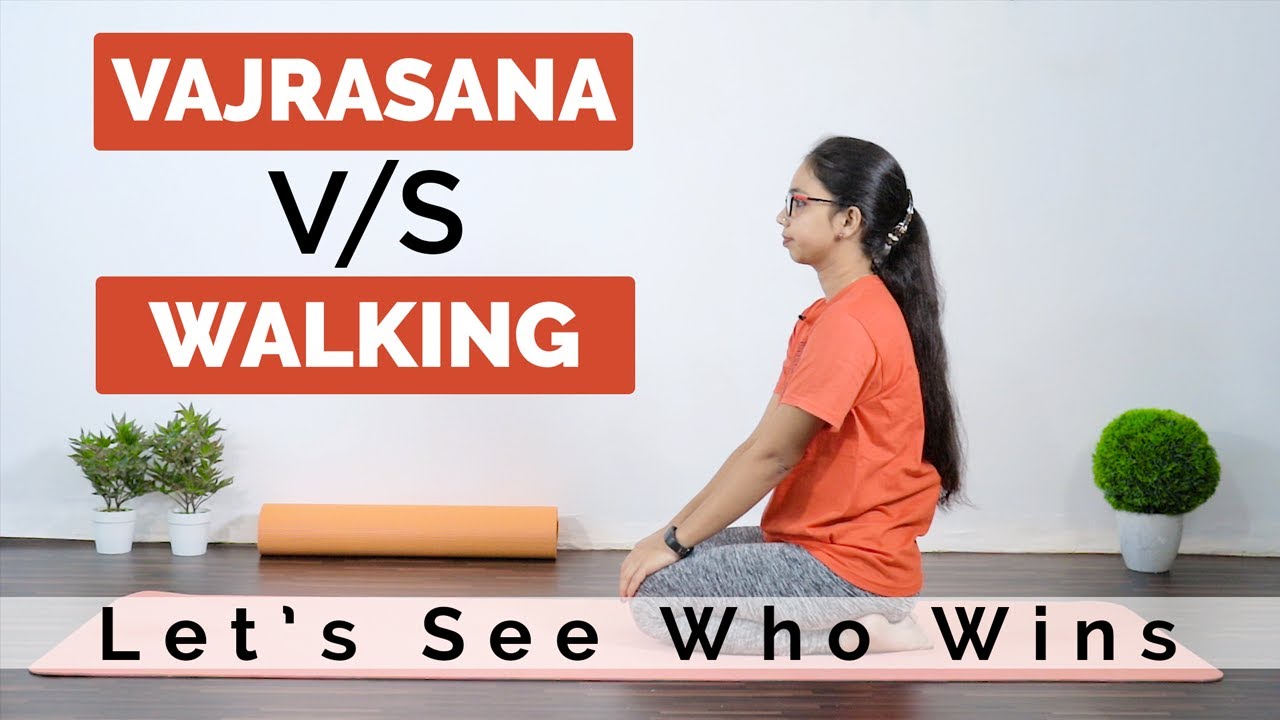
Steps:
- Sit in a position where the soles of your feet are on your buttocks.
- Place the thighs on the legs one over the other and soles on your buttocks.
- Your whole body weight should fall on your knees and ankles. Make sure your calves are touching the thighs.
- Sit straight with an erect spine and close your eyes.
- Take a deep breath and place your palms on the respective knees while you inhale and exhale.
- Hold on to this position for 3-5 minutes initially. Gradually increase the time up to 15 minutes.
Precautions:
- People suffering from joint pain should avoid this asana.
- Also, people having lower back problems and spinal problems should avoid this asana.
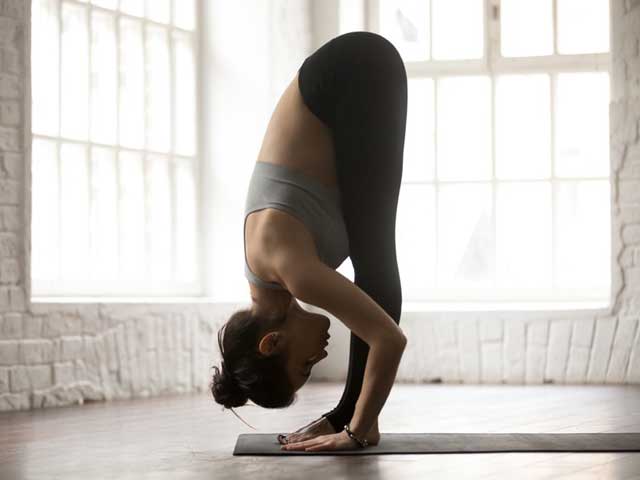
3. Seated Forward Bend | Paschimottasana
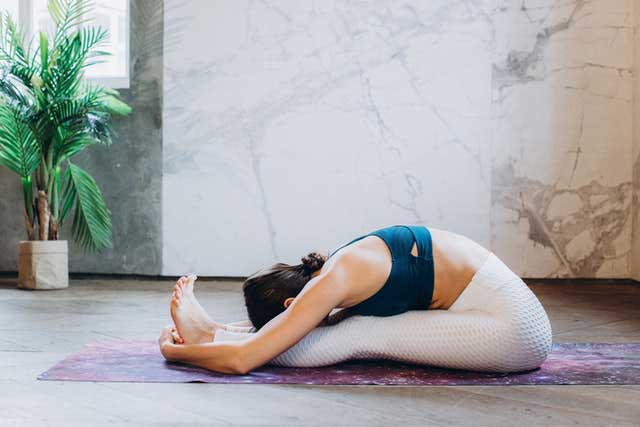
Steps:
- Sit straight on the ground, stretching your legs out front.
- Make sure your toes are together pointing forwards.
- Now, breathe in, raise your arms above, and stretch up.
- Breathe out, bend forward from hip joints. Make sure your spine is erect and move forwards towards the toes, not downwards towards your knees.
- Try grabbing your toes with your fingers and if you’re unable to do that, place your hands on legs as far as you can. The nose should touch the knees.
- Inhale and slightly lift your head and lengthen your spine.
- Move the navel towards the knees while breathing out.
- Breathing in, stretch your arms out in front of you and slowly come back to normal position.
- Breathe out and lower the arms.
Precautions:
- Avoid this asana if you have lower back pain, diarrhea, Asthma or slip disk. Do not bend beyond your comfort level.
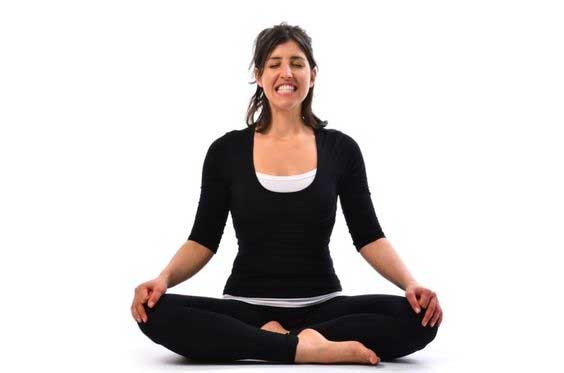
4. The Easy Pose | Sukhasana
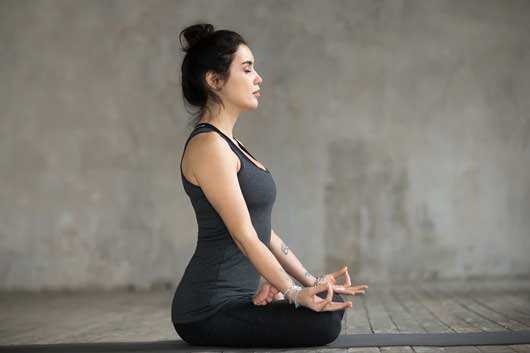
Steps:
- If you find it difficult to interlace legs and put your heels on your lap. You can simply sit cross-legged.
- Palms on knees, facing up, thumb and index finger joined at the tips in an arc, other fingers straight out.
- Keep your spine straight
- Close eyes focus on your breathing.
- Next, sit still and calm and practice gentle, deep breathing. Imagine you are in space and the energy flows in through the top of your bead and into your body when you breathe in.
- Then slowly breathe out with your nostrils and making a humming while you exhale.
- Repeat this process till you find yourself calm and focussed
Precaution:
- If while practicing any of the above and if you feel uncomfortable, then take a pause and lie down for a while.
5. Half lord of fish pose | ArdhaMatyasendra
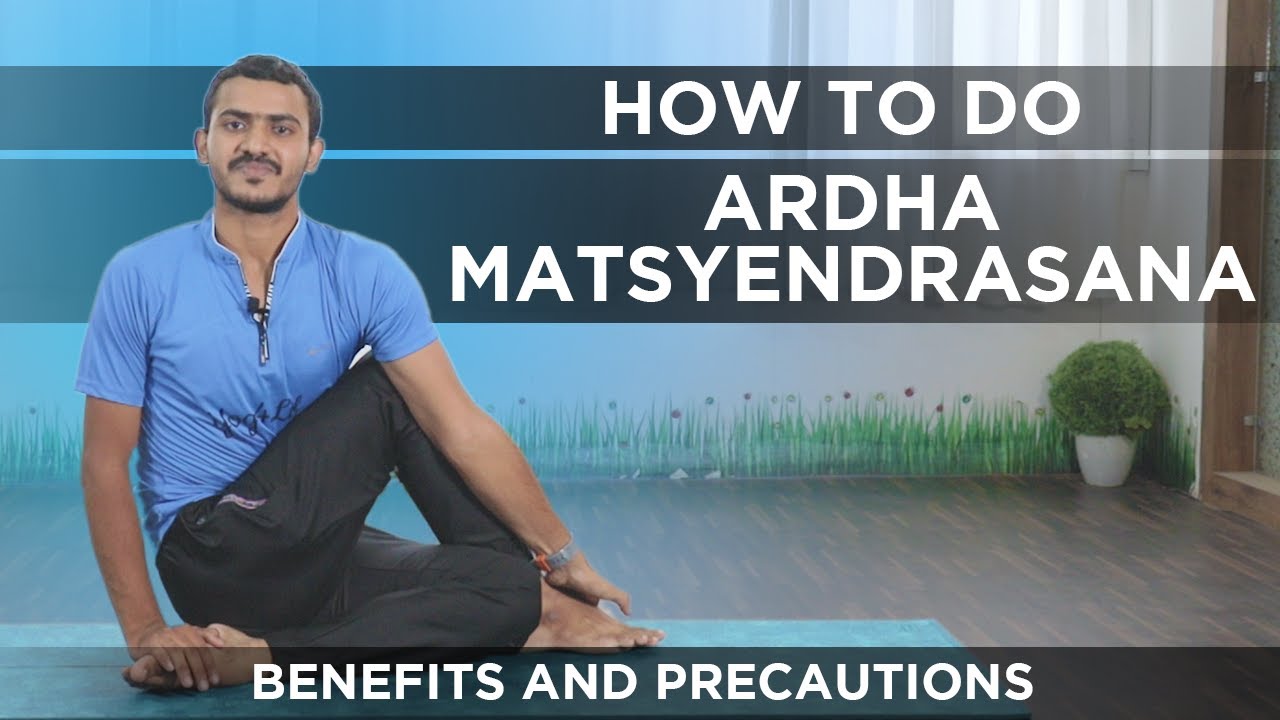
Steps:
- Sit comfortably on your mat and sit straight so that your back, neck and head are aligned.
- Take the support of your hands, and bend your right knee and place it on the left side of your left hip.
- Now twist your hips and shoulders to your right.
- Place your left elbow near your right knee while the right hand is supporting your back to be straight and balancing the pose.
- Hold it for 5-6 breaths and relax
- Repeat the same with another leg.
Precautions
- Avoid this pose if you are pregnant or going through menstrual cramps.
- Avoid it if you have gone through recent brain, abdominal, or heart surgery.
- If you had a spinal disc slip, then practice it under supervision.
6. Janu Shirasana | Head to knee pose.
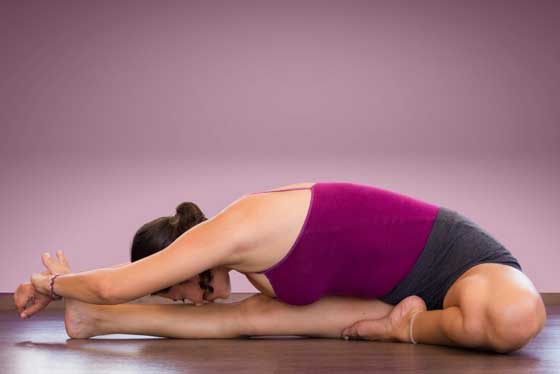
Steps:
- Firstly, sit on the floor with legs stretched out in front of you. Keep your back erect. You may use a blanket under your hips if necessary.
- Bend your right knee; place the bottom of your right foot against the inner part of your left thigh. Your right leg and knee should be comfortably pressed on the floor.
- See that your chest and navel are lined up with your left leg, setting your torso in the right position.
- Your hands must be placed right beside the hips. Let your hands provide support.
- Inhale and extend your belly and torso right up to the top of the head.
- While your exhale, let the energy pass through your left leg till the ball of the foot.
- Inhale and stretch your arms such that it lengthens your spine. Then exhale and slowly bend forward from your hips. Try to reach your ankles or toes with your hands or stretch till you are comfortable.
- Hold this position while you take a few deep breaths.
- To release this pose, lift your torso and stretch out your right leg. Let the muscles in your abdomen contract.
- Relax for a few seconds and repeat this for another side.
Precautions:
- Avoid this asana if you have diarrhea or Asthma.
- Do not flex too much in case of a knee injury. Instead, use a folded blanket for support.
7. Butterfly pose | Baddha Konasana

Steps:
- Sit straight on your mat with spine erect and legs stretched out in front of you.
- Now, bend your knees and bring your feet towards your pelvis. See that the soles of the feet are touching each other.
- Now hold your feet tightly with your hands.
- Now inhale deeply and as you exhale, press your thighs and knees down towards the floor.
- Keep breathing normally and start flapping both your legs up and down like a butterfly.
- Increase the speed slowly and gradually as much as you comfortably can.
- Slow down and stop. Take a deep breath and as you exhale, bend forward keeping the spine erect and chin up.
- Press your elbows on thighs or knees, pushing the knees and thighs closer to the floor.
- As you take long deep breaths, you will feel stretch in your inner thighs. Your muscles will feel relaxed.
- To release the posture, slowly bring the torso up, straighten your legs out in front and relax.
Precautions:
- If you are suffering from groin or knee injury, avoid this asana or place a blanket under your thighs for support.
- Do not speed up immediately. Take your time and gradually increase the speed of flapping.
- Sciatica patients should either completely avoid or practice this asana under expert guidance.
- Should be avoided by ladies if menstruating.
8. Downward Facing Dog Pose | Adho Mukha Svanasana

Steps:
- Stand straight on your legs then bend forward.
- Place your palms on the floor, note that your fingers are widely spread and balanced.
- There should be enough space between your knees and palm.
- Now, take note that your wrists are exactly aligned with your shoulder, and knees aligned with hips.
- Stretch your elbows and let your upper back relax.
- Lift both your knees from the floor and raise your pelvis too.
- Straighten your legs gradually, as straight as possible.
- Bring your body into the shape of the alphabet ‘A’.
- Stay stable and do not change the distance between your palms and feet.
- Draw your shoulder blades into your upper back ribs and toward your tailbone.
- Hold this position for 30 seconds and later you can increase your time limit.
- To relax from that position, relax your knees and bend down.
Precautions:
- If the person practicing this pose has stiff or weak back muscles, tight hamstrings, sciatica, or knee problems should practice this pose gently and gradually easing in and out of the pose while keeping the knees bent and back straight.
- Those with Carpal Tunnel Syndrome should press down into the base of their fingers.
9. Forward Bend | Uttanasana
Steps:
- Stand straight on the ground and maintain distance between your feet.
- Raise both your arms together towards the sky with a deeply focused inhalation.
- Exhale and bend forward, letting your palm touch the floor.
- Your hips would act as a common point between the upper body and lower body, maintain balance.
- Feel your back stretching in opposite directions as you pull the head down and in and press the hips up.
- Breathe and hold for 4-8 breaths, pressing the belly into the thighs on the inhalation.
Precautions:
- You need to refrain from practicing this pose if you face chronic problems or have a history of any injury in your knee joints, ankle joints, or back.
10. Bridge Pose | SetubandhAsana
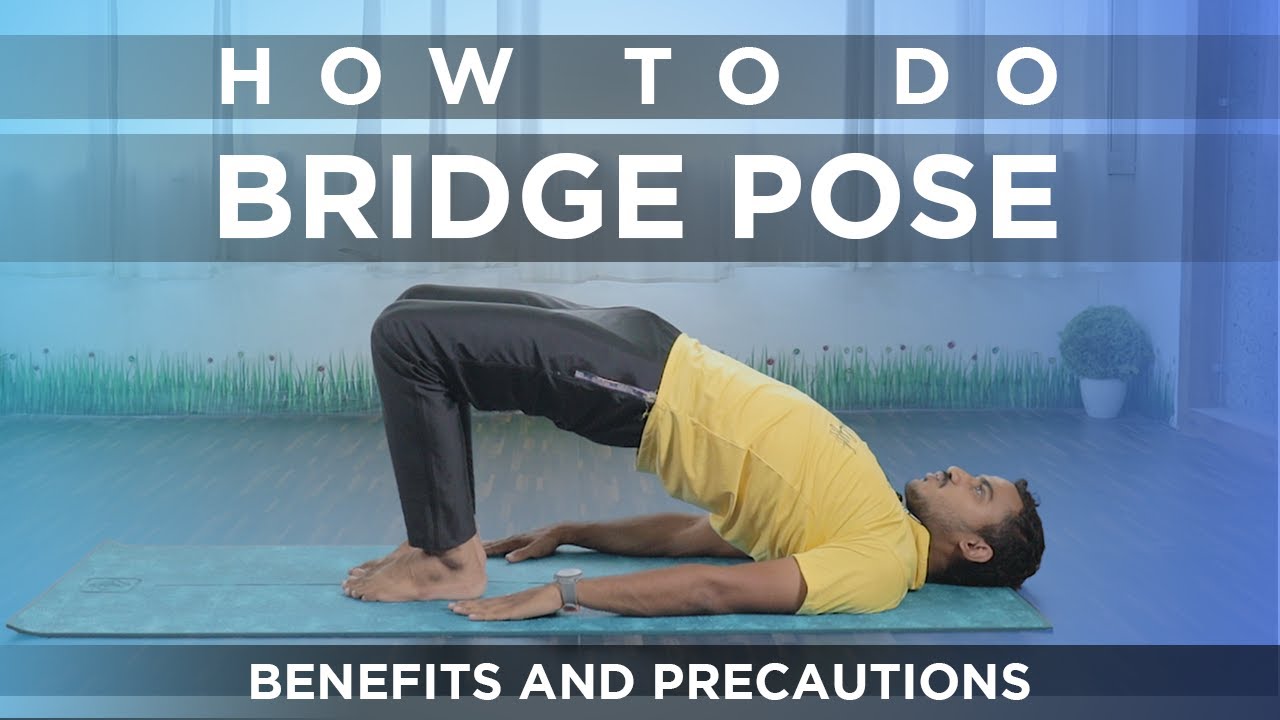
Steps:
- Lying on your back, bend both knees and place the feet flat on the floor hip-width apart.
- Place your arms alongside the body with the palms facing down.
- The fingertips should touch the heels.
- Inhale and lift the hips up, by giving a little pressure on the feet towards the floor.
- Lift your chest up with the support of your arms and shoulders.
- Please note that your shoulders and arms should be resting on the floor.
- Breathe and hold for 4-8 breaths.
- To release: exhale and gently place your spine back to the floor.
Precautions:
- Avoid practicing this pose if you are suffering from neck or back pain.
- Avoid the yoga pose if one is having any knee pain.
- Avoid it during a shoulder injury.
- Avoid moving your head left or right.
- Do not put more pressure on the neck.
11. Corpse Pose | Shavasana
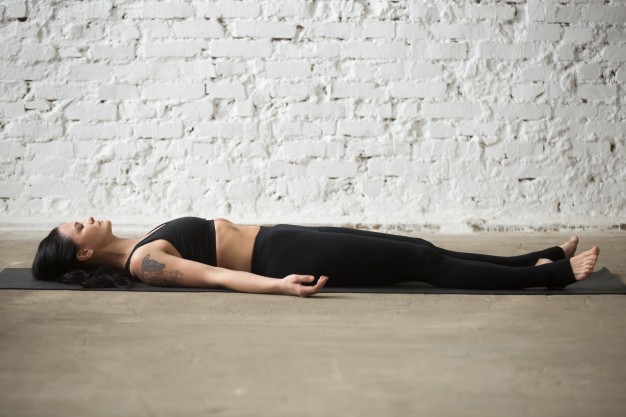
Steps:
- Lie flat on the floor keeping your back straight.
- Your palms, facing upwards, must be placed slightly apart from your body.
- Close your eyes and place your legs comfortably apart from each other. Make sure your toes are facing sidewards.
- Keeping your head and spine in a straight line, lay peacefully.
- Take a deep breath, draw attention to every part of your body.
- Breathe slowly, setting your body in a state of deep relaxation. Let it soothe your body, mind, and soul.
- Forget everything and try to focus on your body while breathing. Feel each and every breath going in and out.
- Remain in this position for a few minutes (make sure you don’t fall asleep) and slowly come back to your normal position.
Precautions:
- Avoid doing this Asana in a noisy/disturbing environment.
- Make sure not to move your body while performing this asana. You need to remain completely still as even the slightest movement may disturb your practice.
Believe me, when I say yoga, meditation, and pranayama for hypertension may not show immediate results, but in the long run, it benefits your body in more ways than you can imagine. Before you adopt this new routine, believe in yourself; believe that you can achieve anything you aim for. All you need is a little dedication, consistency, and a pinch of faith in this regime as well in yourself and before you know it, you will be hooked to it and your body will be showing miraculous results!